私的AI研究会 > ComfyUI19b
画像生成AI「ComfyUI」19(応用編Ⅲ3) == 編集中 == †
「ComfyUI」を使ってローカル環境でのAI画像生成を検証する
▼ 目 次
▲ 目 次
※ 最終更新:2026/10/31
『Qwen-Image-2.1』を検証する3「Qwen-Image-2.1 Tuabo」†
『Qwen-Image-2.1 Turbo』の基本ワークフローから、目的別にすぐに使えるワークフローを編集する
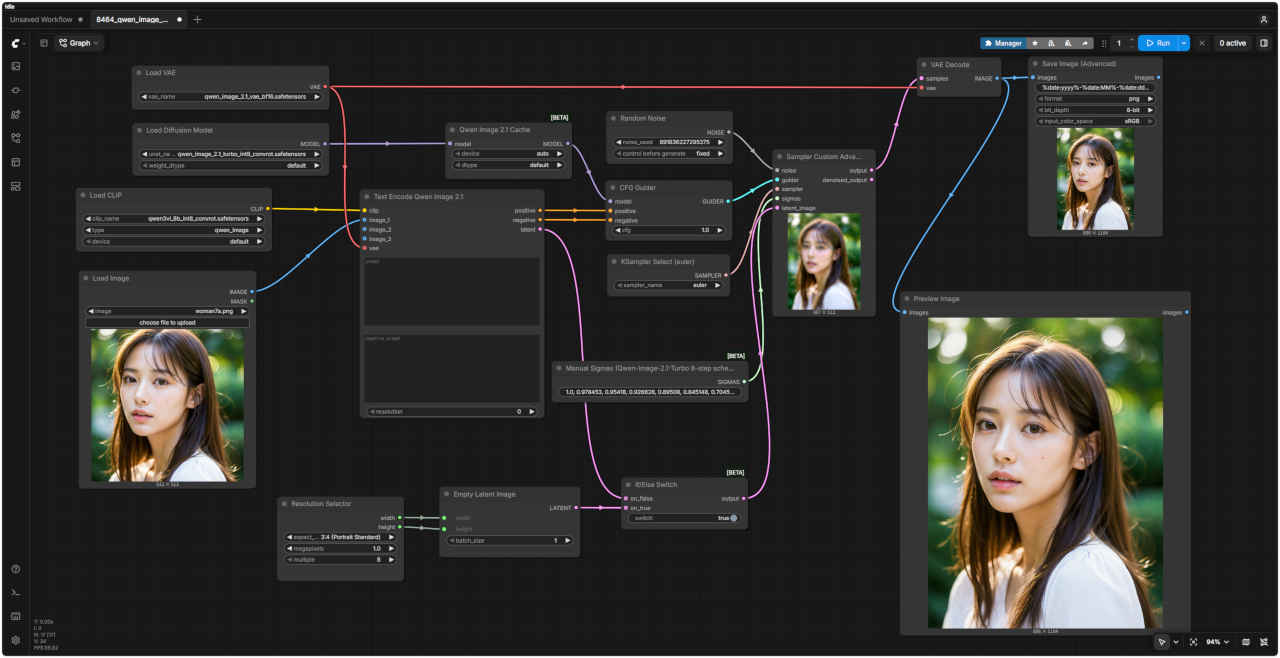
使用するワークフロー フォルダ ワークフロー名 (.json) モデル 機能 (参照ページ) 特記事項 QwenImage2.1 8451_qwen_image_2.1_turbo_t2i Turbo Text to Image 基本ワークフロー Text to Image 標準ワークフロー 8452_qwen_image_2.1_turbo_image_edit Image Edit 基本ワークフロー Image Edit 標準ワークフロー 8461_qwen_image_2.1_turbo_edit_base 画像編集の基本 (8452 ) と同じ機能, 参照画像1枚 (10枚まで追加可能) (8461_qwen_image_2.1_turbo_edit_base ) カラーペンで位置を指定して編集 (8461 ) と同じ機能, 参照画像1枚の応用例 8462_qwen_image_2.1_turbo_ref2image 複数の参照画像から新しい画像を生成 (8461 ) と同じ機能, 参照画像3枚の応用例 8463_qwen_image_2.1_turbo_edit_mask マスクで場所を指定して編集(Inpainting) (8461 ) と同じ機能, 参照画像1枚の応用例 8464_qwen_image_2.1_turbo_outpaint アウトペイント(OutPainting) (8461 ) と同じ機能, 参照画像1枚の応用例 8465_qwen_image_2.1_turbo_openpose ポーズを変える(OpenPose) (8461 ) + ControlNet, 参照画像1枚の応用例 (8462_qwen_image_2.1_turbo_ref2image ) ポーズを変える2(棒人間画像で直接指定) (8462 ) と同じ機能, 参照画像2枚の応用例 8466_qwen_image_2.1_turbo_upscale 高精細化(Upscale) (8461 ) と同じ機能, 参照画像1枚の応用例 8467_qwen_image_2.1_turbo_extraction 透過画像・切り抜き (8461 ) と同じ機能, 透過画像作成 8468_qwen_image_2.1_turbo_panorama パノラマ画像生成 (8461 ) と同じ機能, パノラマ ERP画像生成 8469_qwen_image_2.1_turbo_3view キャラクター・リファレンスシート (8452 ) と同じ機能, リファレンスシート作成 8470_qwen_image_2.1_turbo_outfit アパレル写真 (8452 ) と同じ機能, アパレル写真作成 8471_qwen_image_2.1_turbo_fashion ファッション写真 (8452 ) と同じ機能, ファッション写真作成 8472_qwen_image_2.1_turbo_style_sheet スタイルシート (8452 ) と同じ機能, スタイルシート作成
Qwen-Image-2.1 Turbo † 主な違いの比較項目 Qwen-Image-2.1(通常版) Qwen-Image-2.1-Turbo(高速版) 推論ステップ数 40ステップ(または標準設定) 8ステップに圧縮・最適化 生成速度 標準 約3〜4倍高速(ステップ数が1/5に短縮) CFG設定 通常設定 デフォルトでCFG = 1(1回のフォワードパスで実行) ステップ数の変更 変更可能 固定(num_inference_stepsを変更しても8ステップのスケジュールは上書きされない) 高速化の仕組み 通常のサンプリング プレフィックスKVキャッシュによるテキスト・参照画像のコンテキスト再利用 API料金(1枚あたり) 高め(例:Proは約0.035〜0.04ドル) 安価(東京・米州リージョンで約0.014133ドル、約2.2円) 商用利用 別途商用ライセンスが必要 別途商用ライセンスが必要(重みは研究・評価目的のみ無償)
共通している仕様・機能項目 仕様・機能 ベースモデル構造 同じ7Bパラメータ・32層のシングルストリームDiT(Diffusion Transformer)アーキテクチャを採用している 多機能性 テキストからの画像生成、最大10枚の参照画像を使った画像編集、透過PNG(RGBA)のネイティブ生成、文字描画(タイポグラフィ)など、通常版の持つ高機能な編集サーフェスをそのまま引き継ぐ
Image Edit を深掘りする†
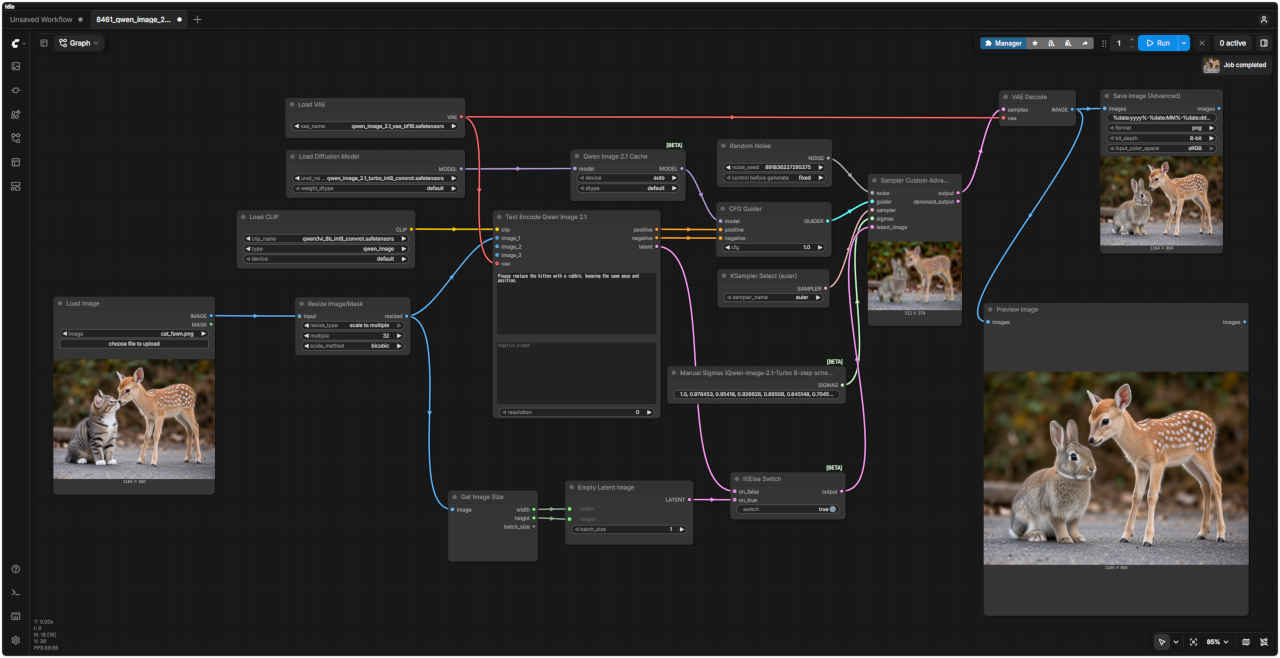
画像編集の基本 編集内容 プロンプト 生成画像 ① 基本の編集指示
Please replace the kitten with a rabbit, keeping the same pose and position.
子猫をウサギに置き換えてください。その際、ポーズや位置はそのまま維持してください。
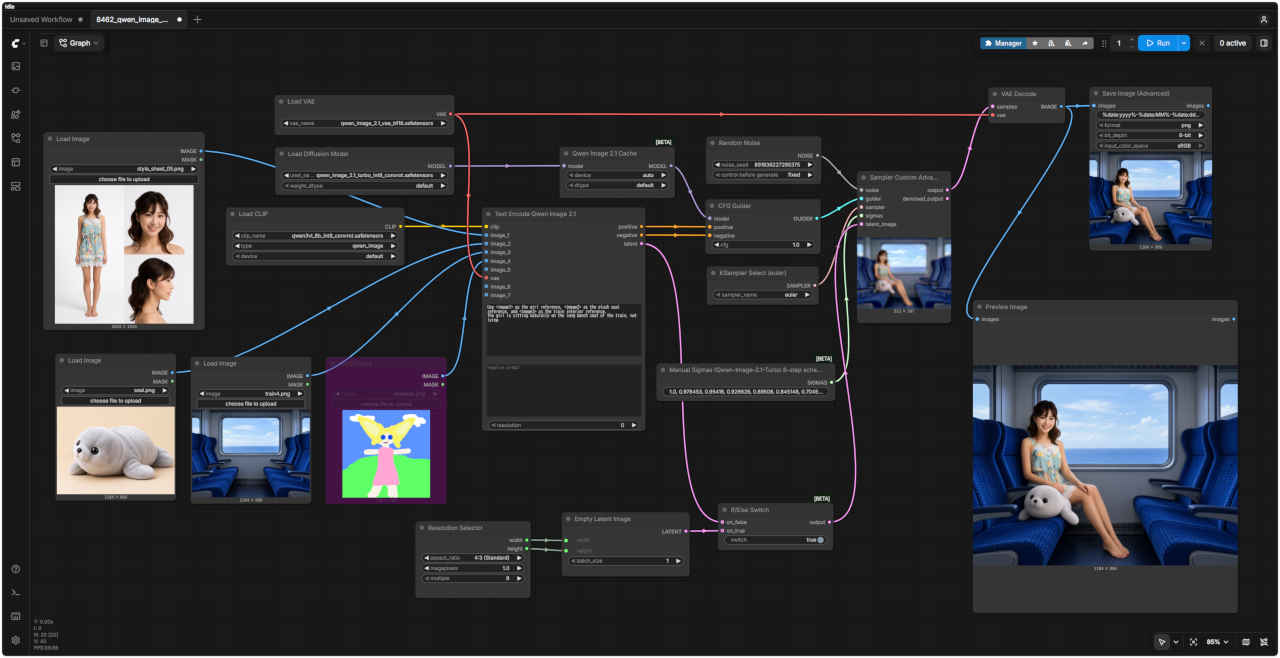
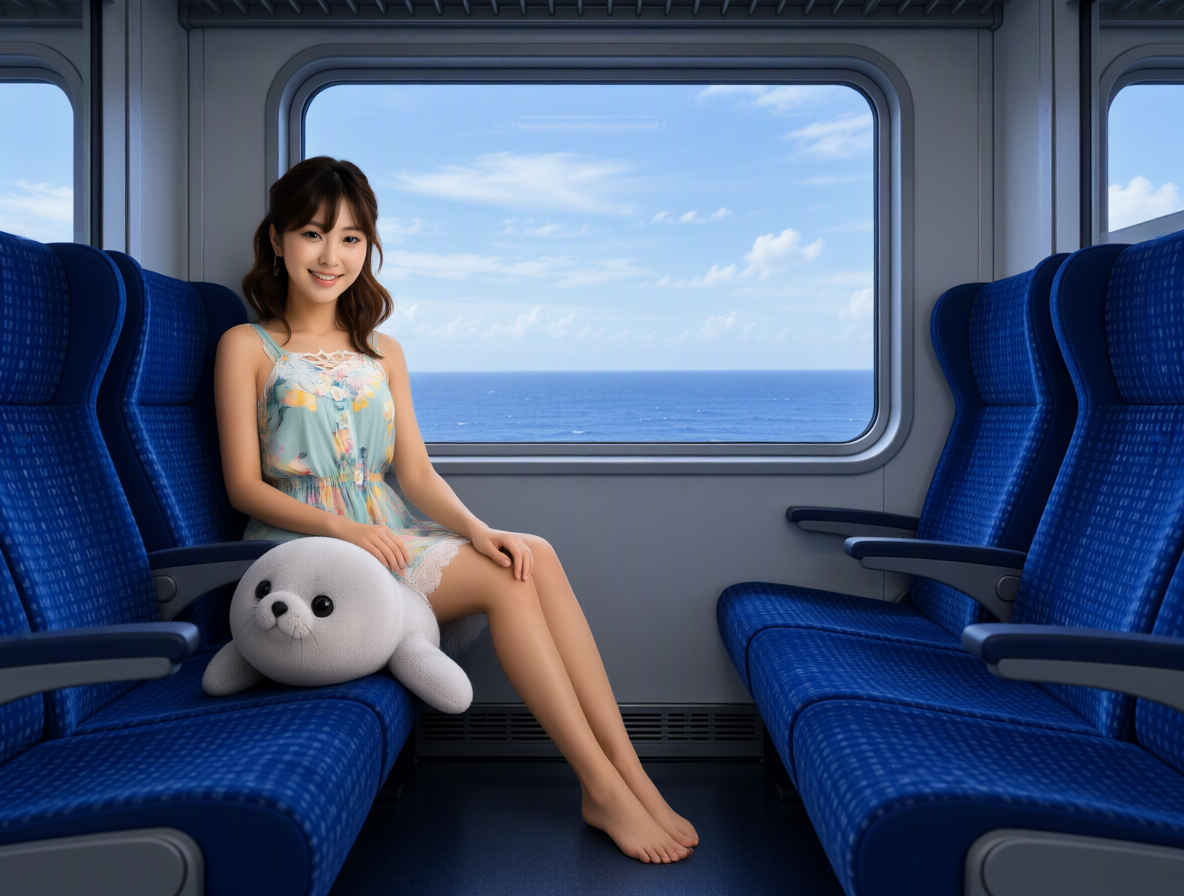
複数の参照画像から生成 編集内容 プロンプト 生成画像 ② 参照画像を組み合わせる
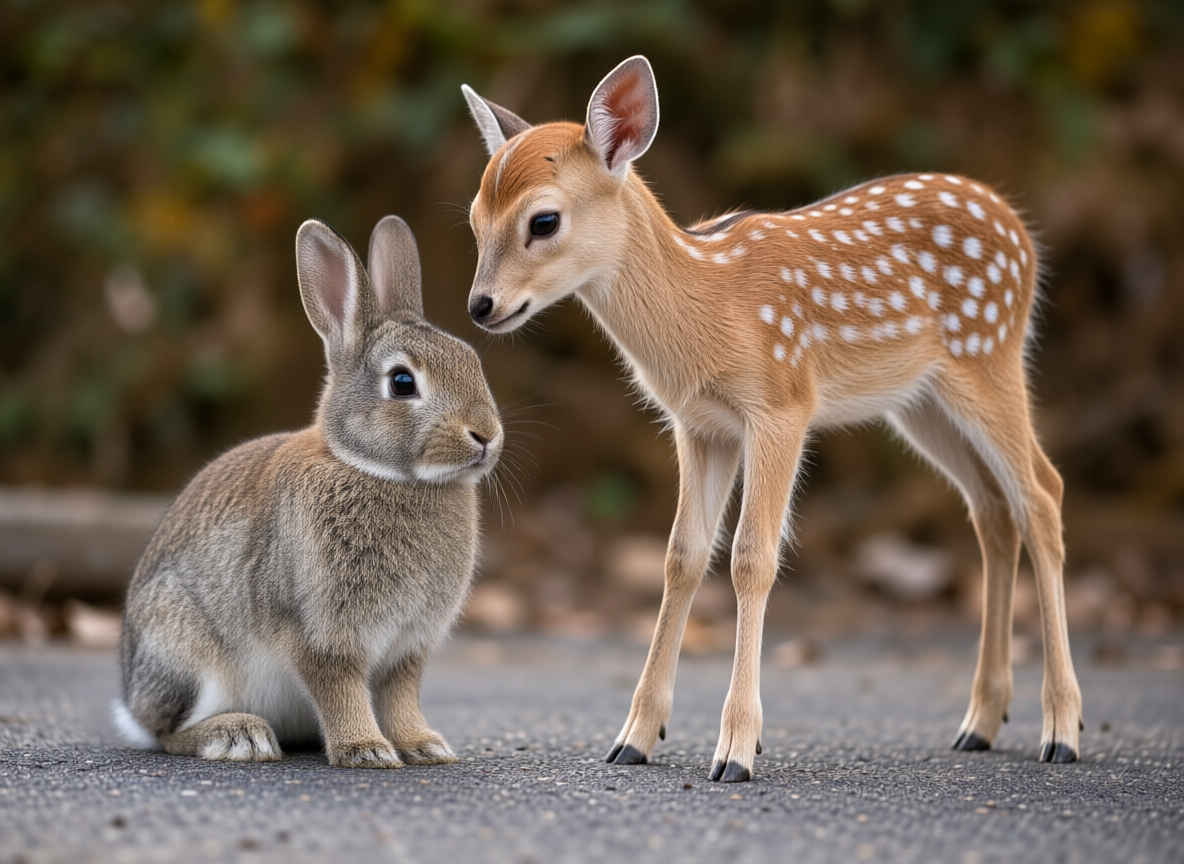
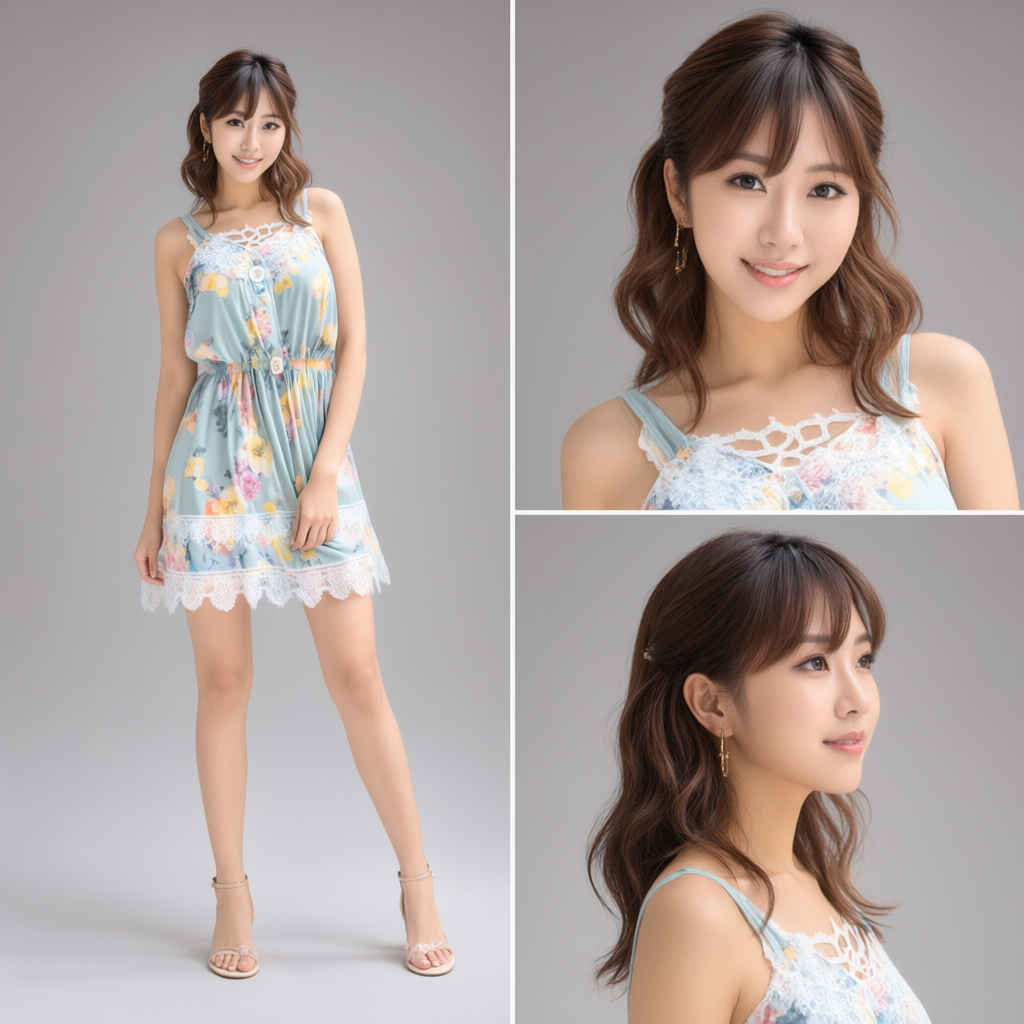
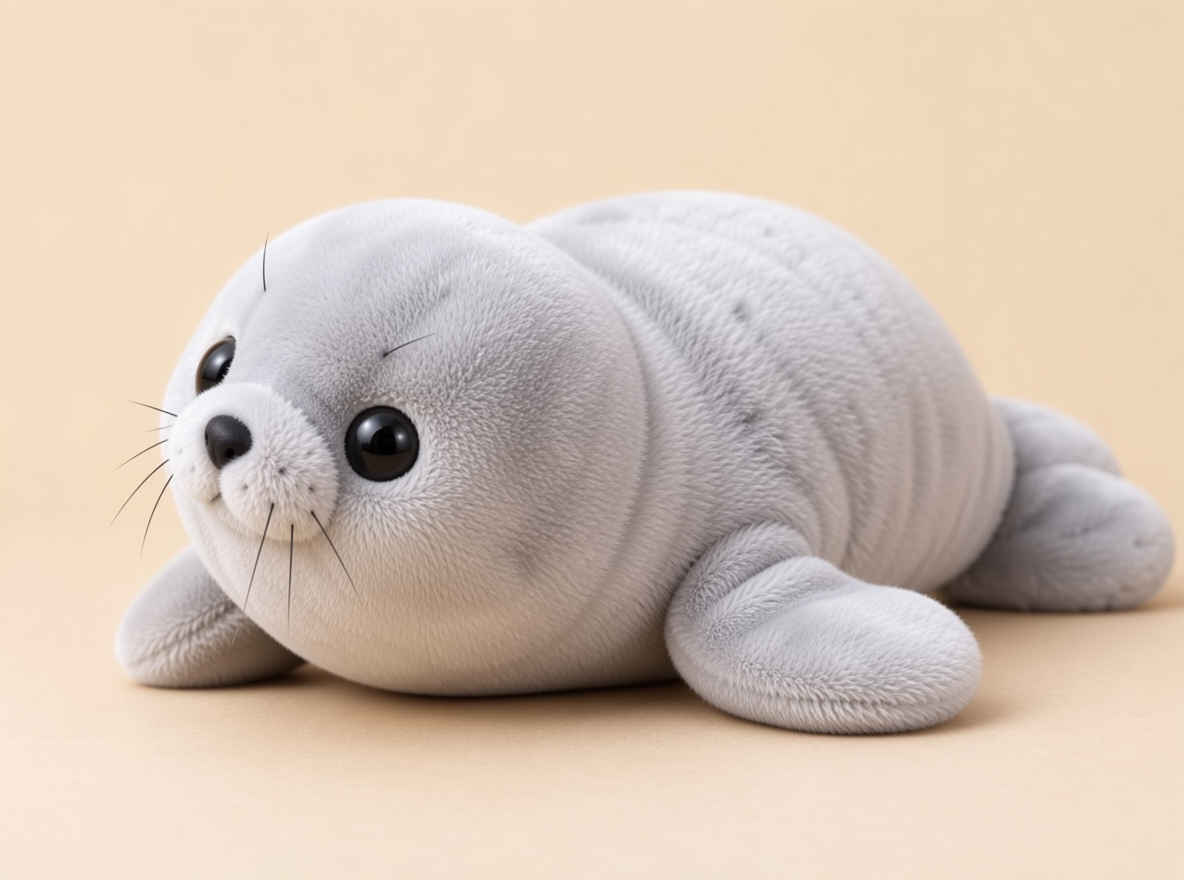
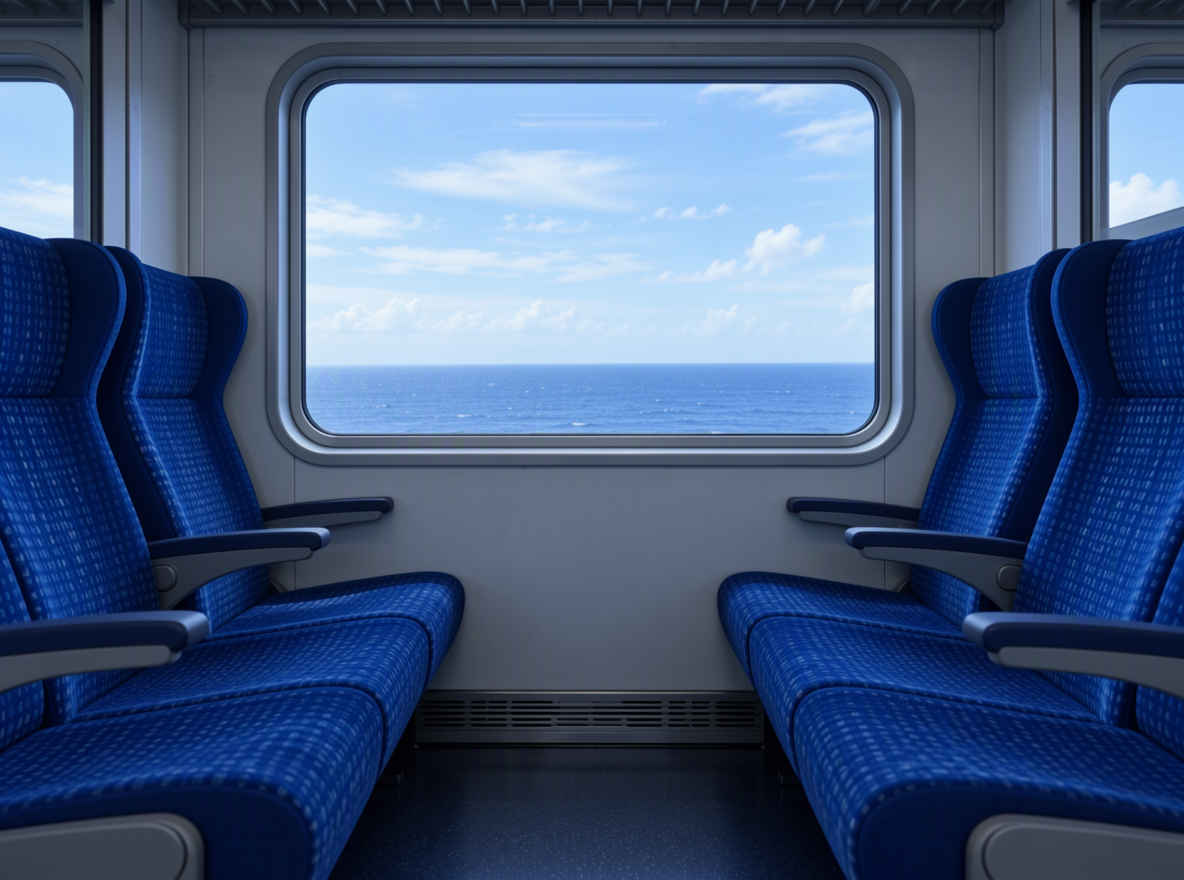
Use <image1> as the girl reference, <image2> as the plush seal reference, and <image3> as the train interior reference.
<image1>を少女の参考に、<image2>をアザラシのぬいぐるみの参考に、<image3>を車内の参考にしてください
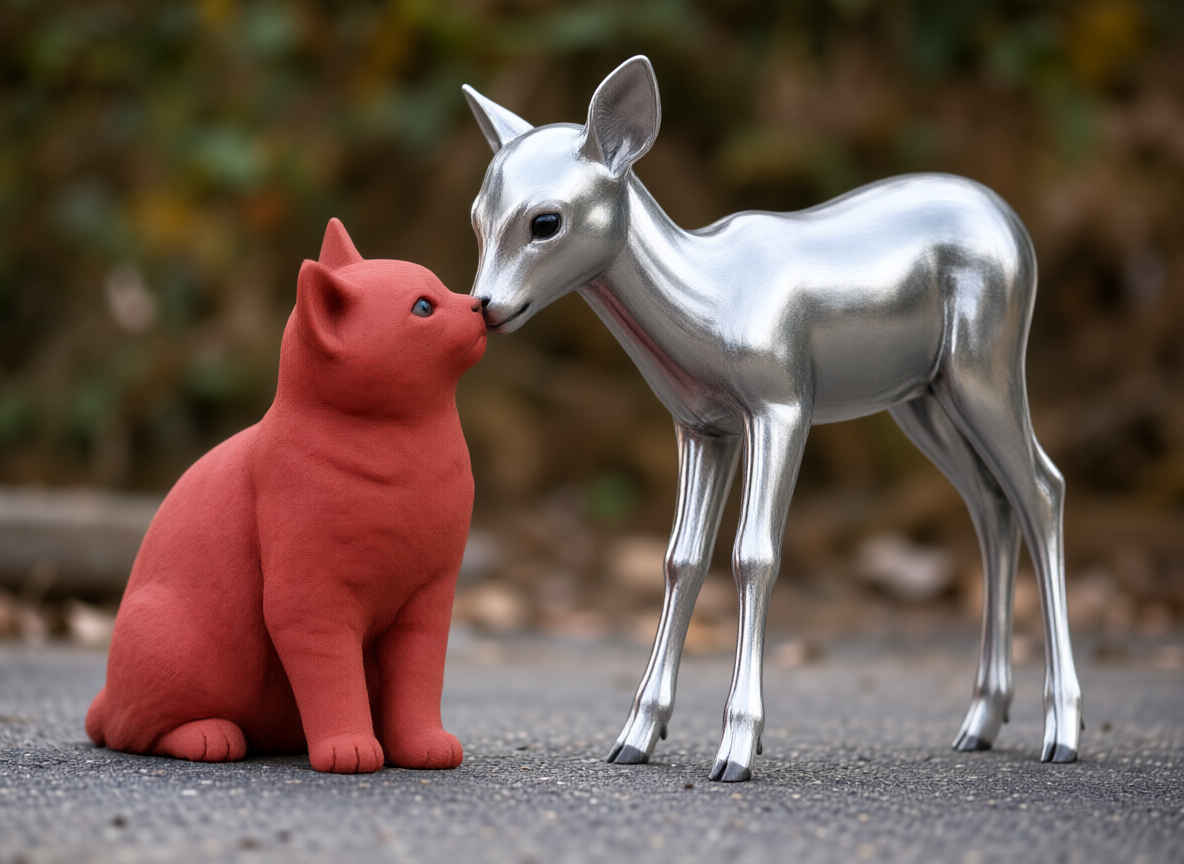
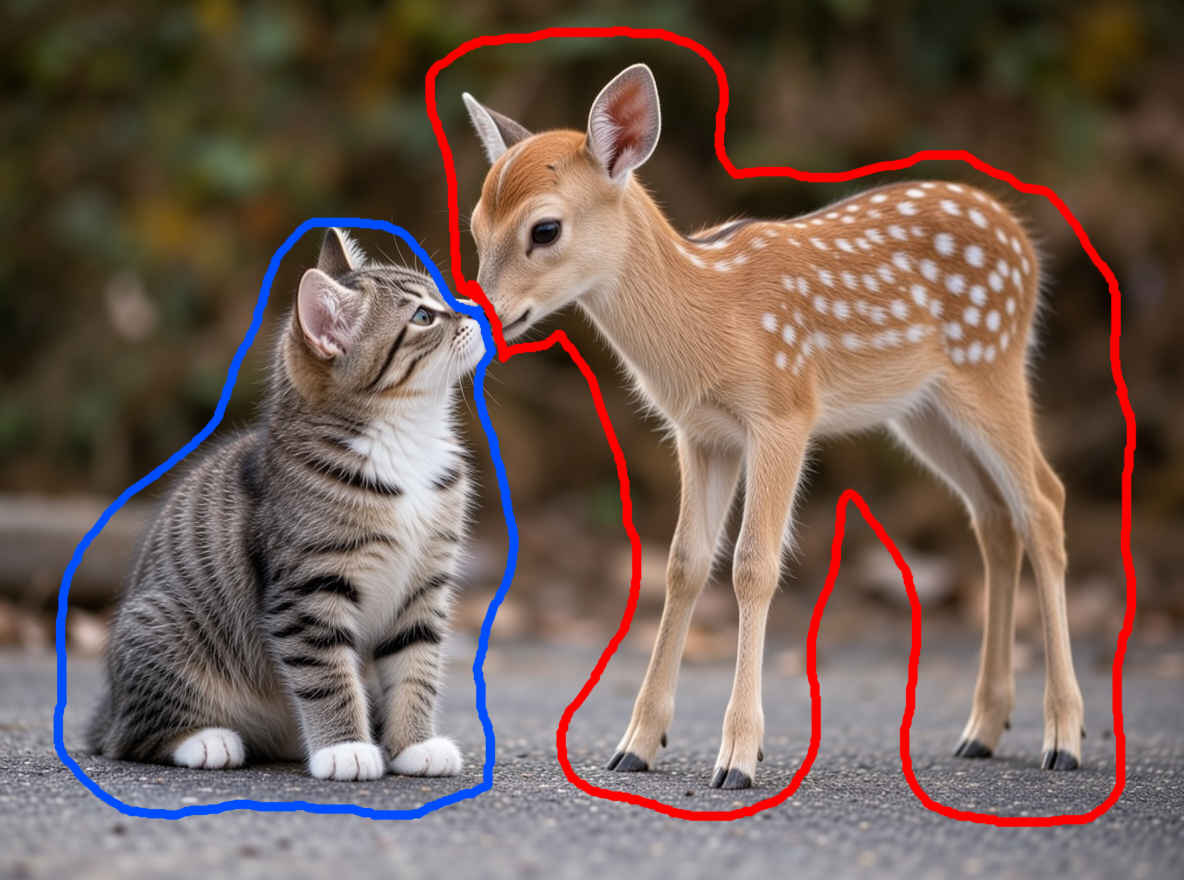
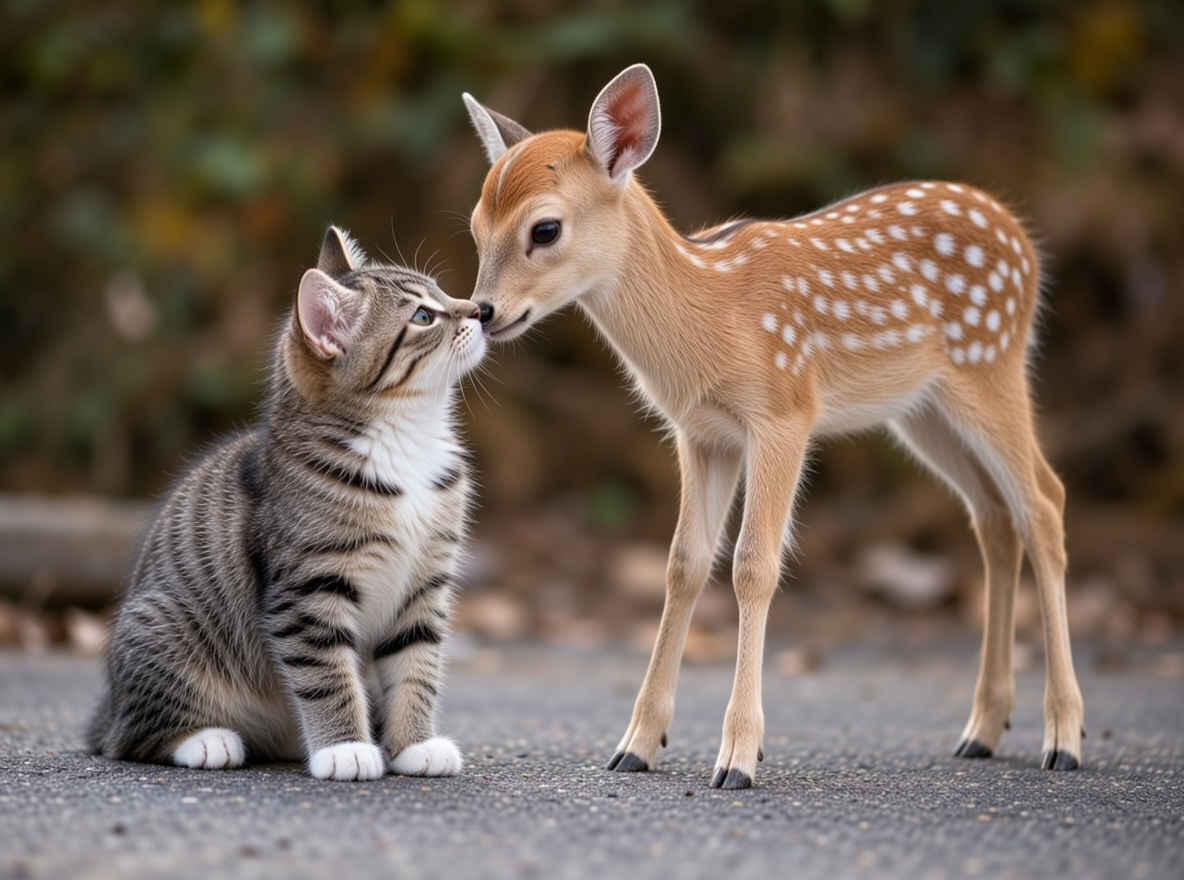
位置指定して編集 編集内容 プロンプト 生成画像 ③ 場所を色ペンで囲って指示
Replace the fawn inside the red circle with one made of polished, silvery metal. Replace the cat inside the blue circle—while keeping its original pose—with a handmade model crafted from red clay (featuring a matte finish and the characteristic texture of clay). Do not alter any other parts.
赤い円の中の子鹿を、磨き上げられた銀色の金属製のものに置き換えてください。青い円の中の猫は、元のポーズを維持したまま、赤い粘土で作られた手製のモデル(マットな質感で、粘土特有の風合いがあるもの)に置き換えてください。それ以外の部分は変更しないでください。
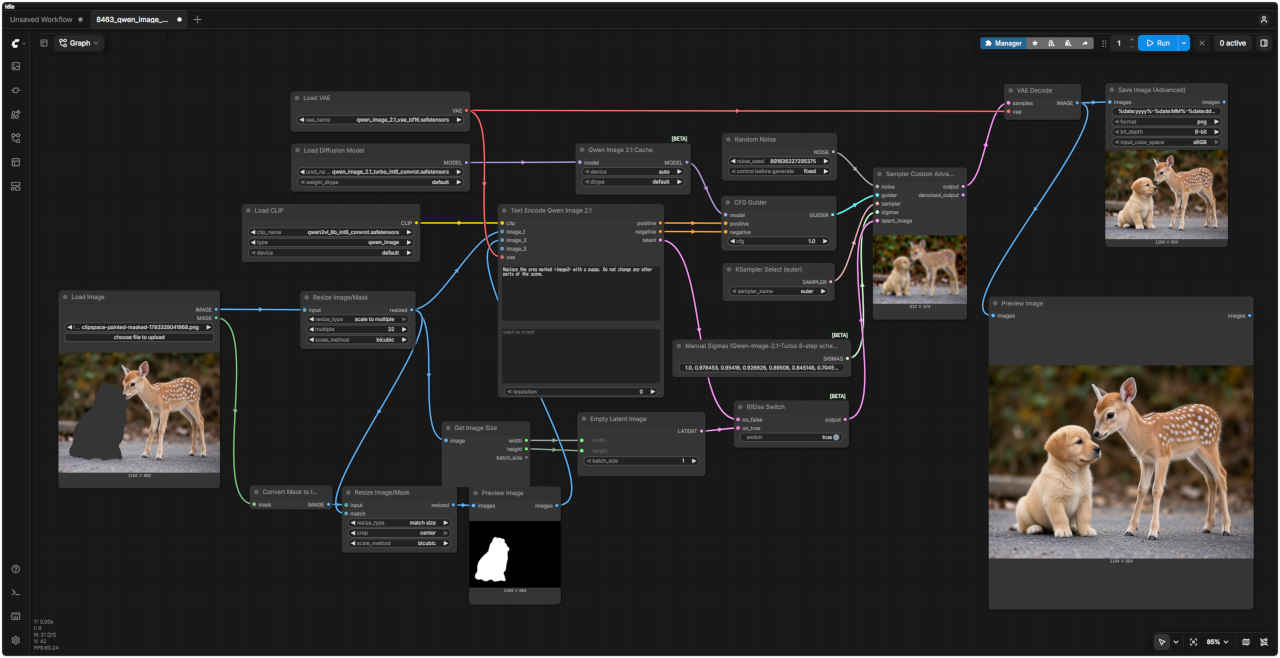
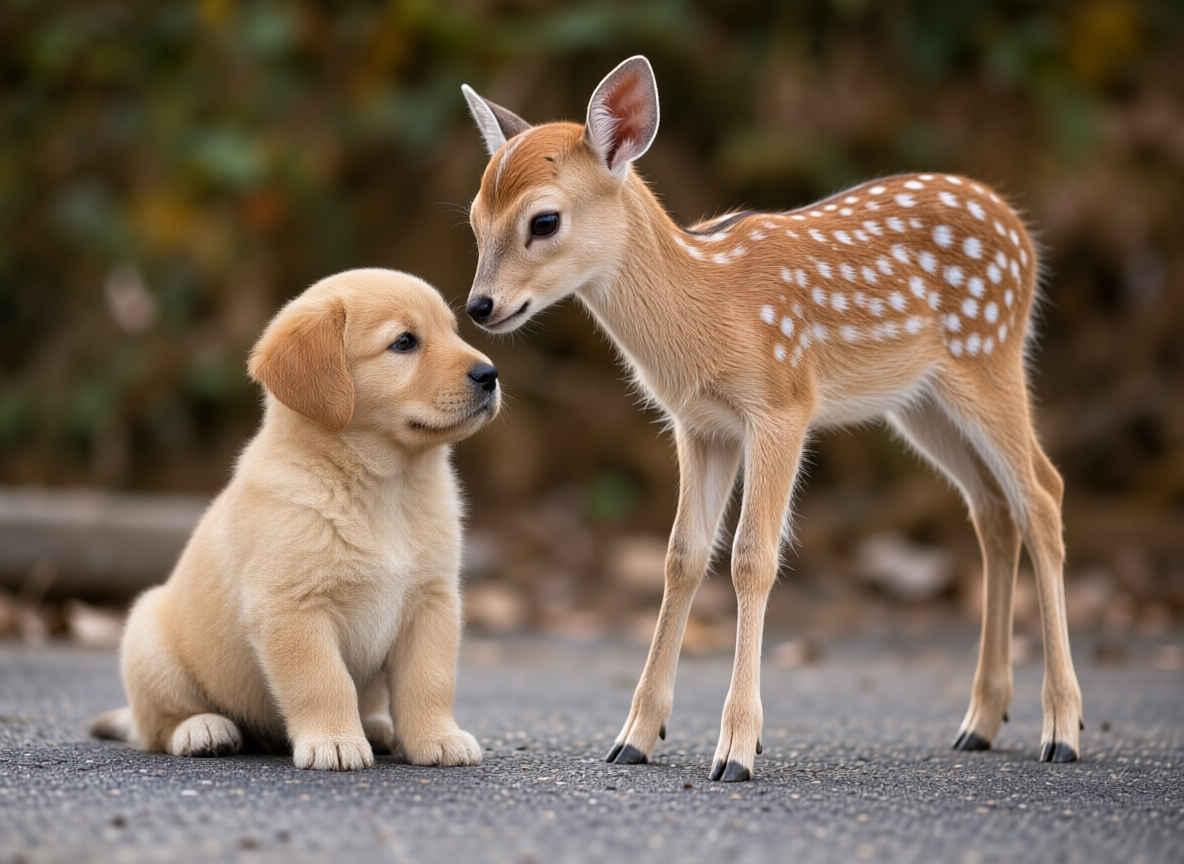
マスクで編集(Inpainting) 編集内容 プロンプト 生成画像 ④ 場所をマスクで囲って指示
Replace the area marked <image2> with a puppy. Do not change any other parts of the scene.
<image2>と示された箇所を子犬に置き換えてください。シーンの他の部分は一切変更しないでください。
アウトペイント(OutPainting) 編集内容 プロンプト 生成画像 ⑤ 周囲の画像を追加
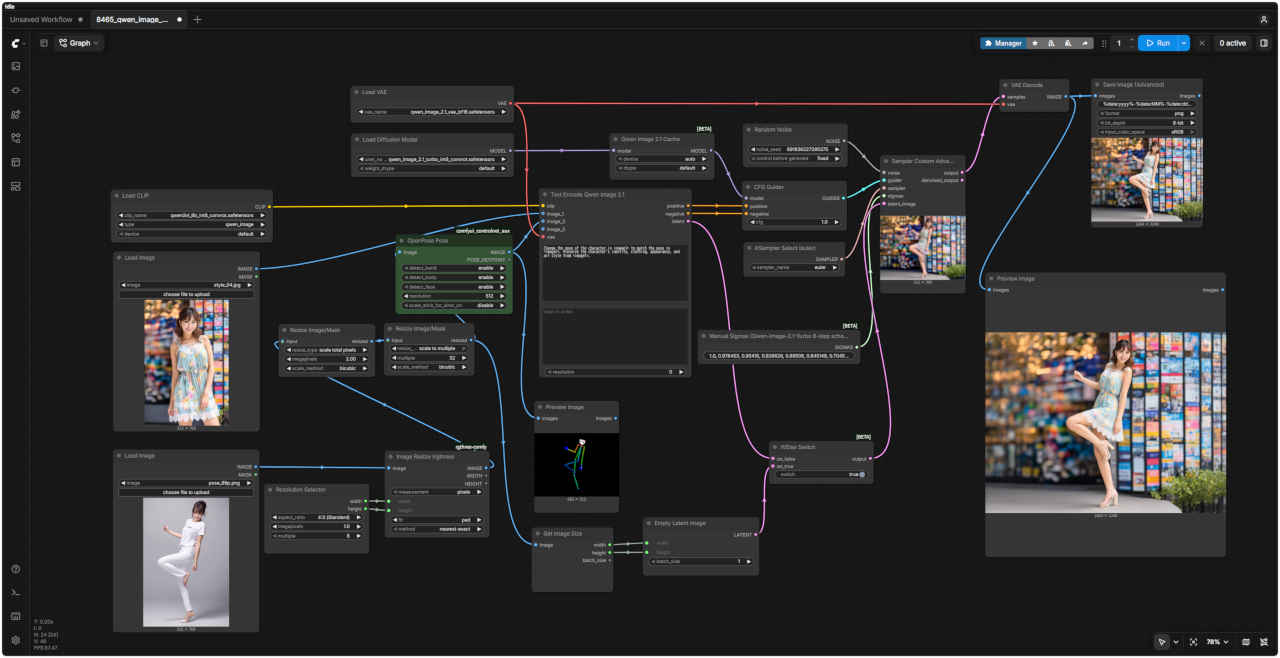
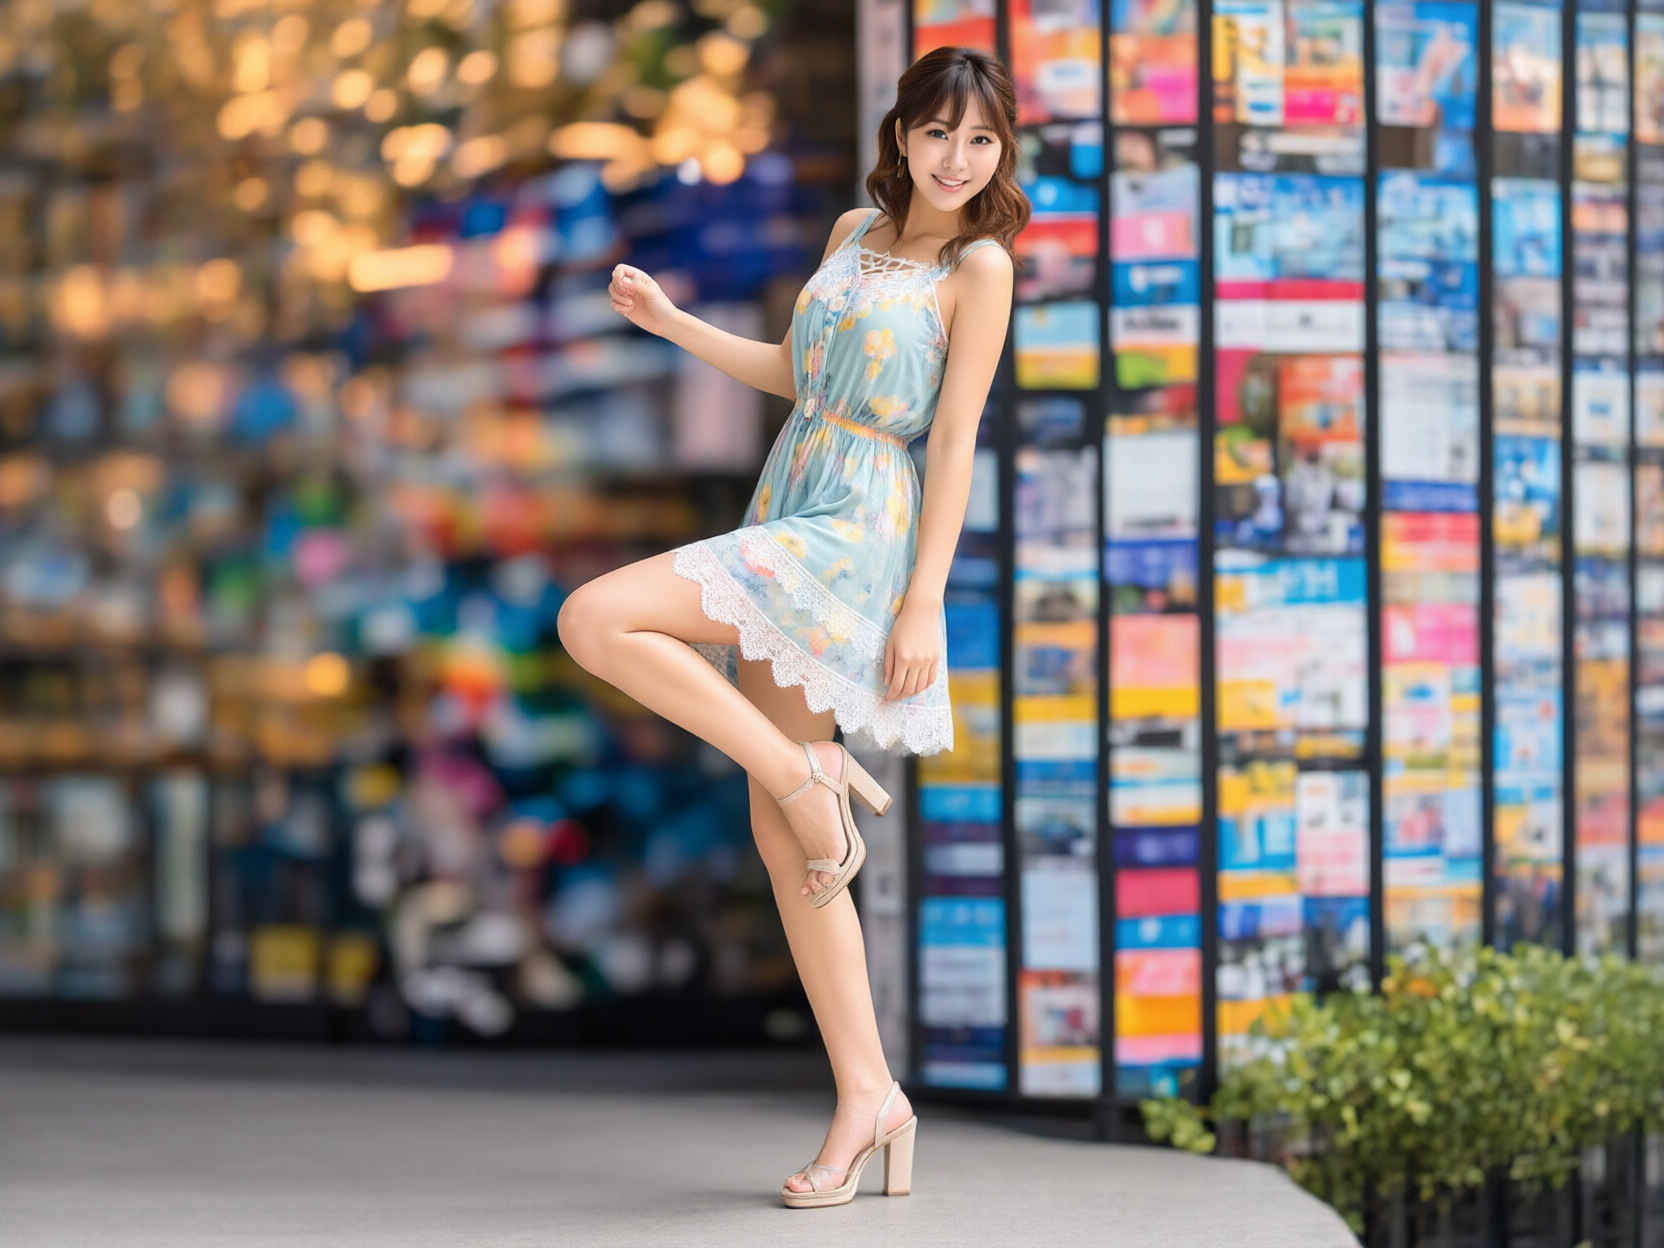
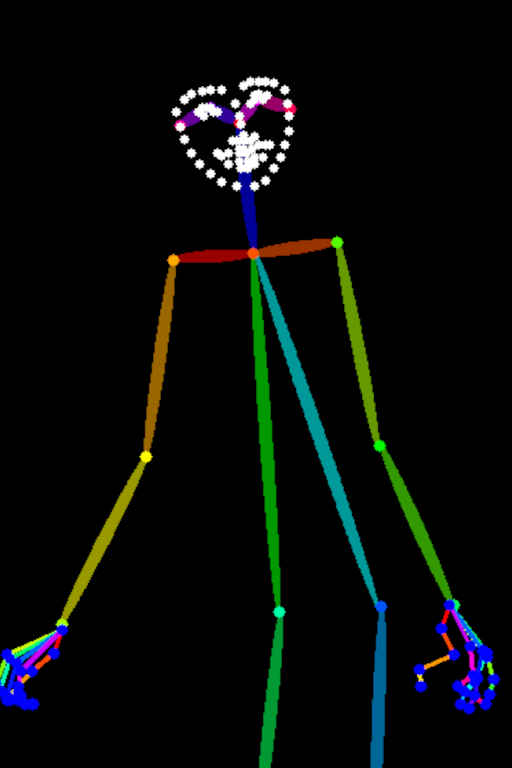
ポーズを変える(OpenPose) 編集内容 プロンプト 生成画像 ⑥ 人物を指定したポーズにする
Change the pose of the character in <image1> to match the pose in <image2>. Preserve the character's identity, clothing, appearance, and art style from <image1>.
<image1>のキャラクターのポーズを、<image2>のポーズに合わせて変更してください。<image1>のキャラクターのアイデンティティ、服装、外見、および画風は維持してください。
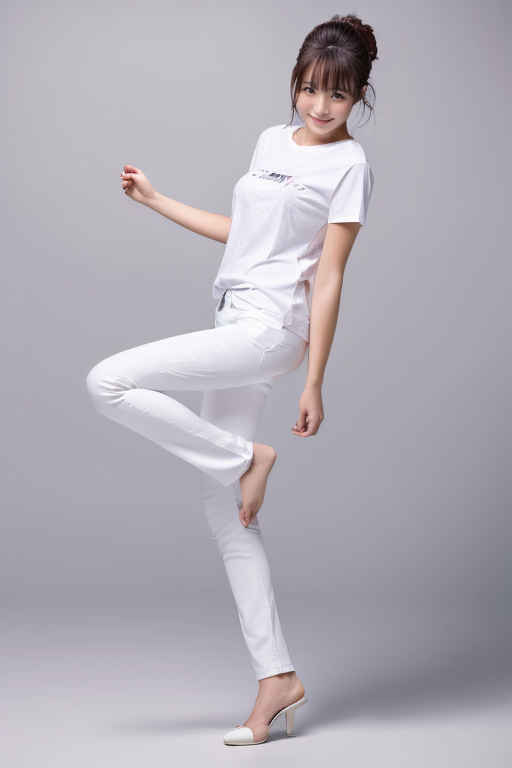
ポーズを変える2 編集内容 プロンプト 生成画像 ⑦ 人物を指定したポーズにする ポーズ集
Change the pose of the character in <image1> to match the pose in <image2>. Preserve the character's identity, clothing, appearance, and art style from <image1>.
&ref(): File not found: "8412_2026-09-25_00011_m.jpg" at page "ComfyUI19b"; <image1>のキャラクターのポーズを、<image2>のポーズに合わせて変更してください。<image1>のキャラクターのアイデンティティ、服装、外見、および画風は維持してください。
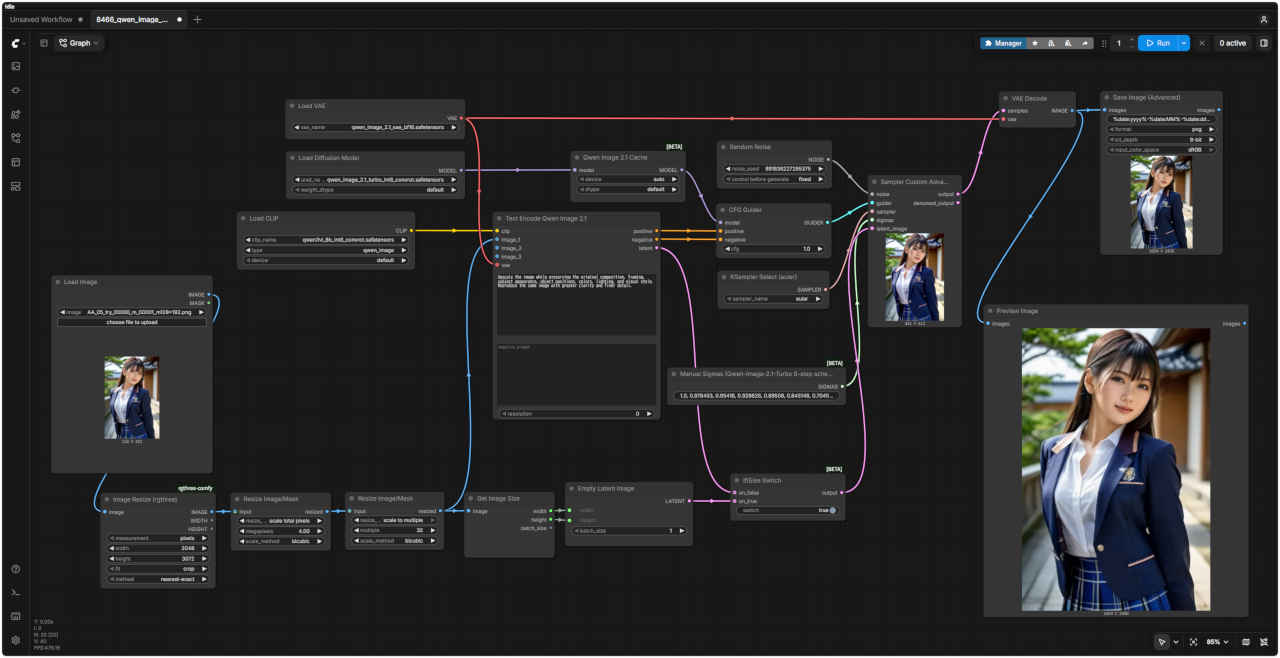
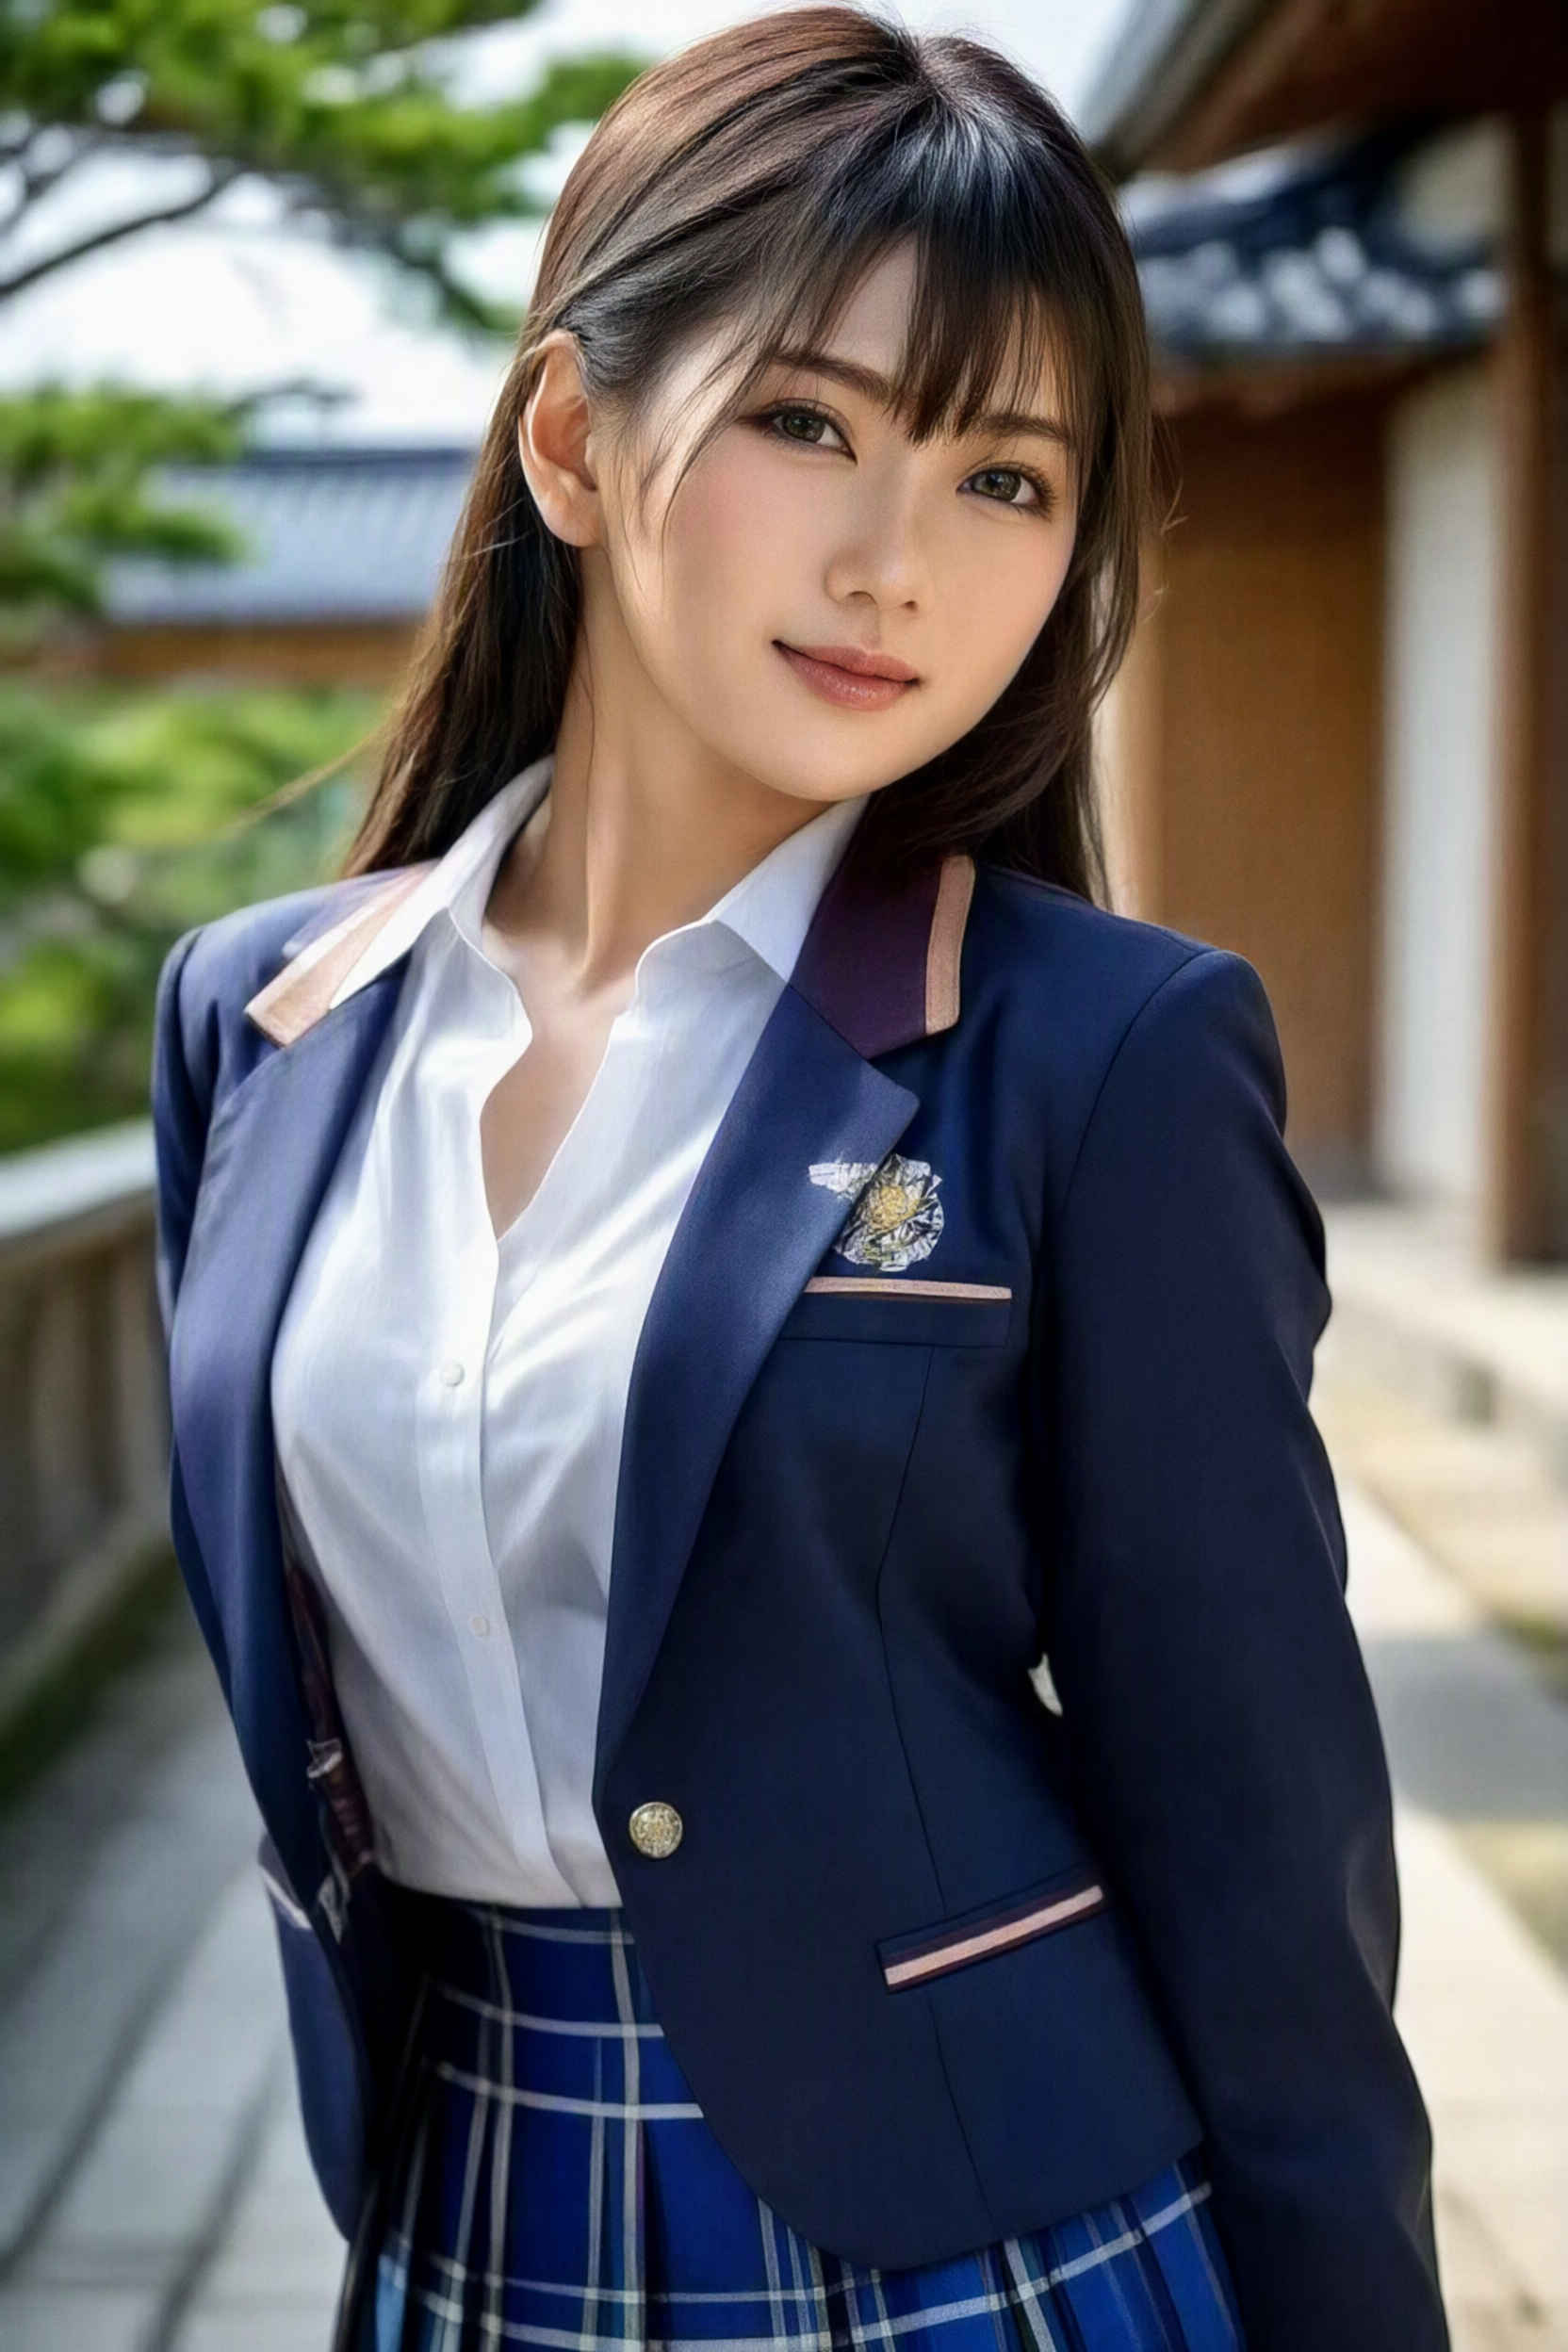
高精細化(Upscale) 編集内容 プロンプト 生成画像 ⑧ 小さい画像を大きくする
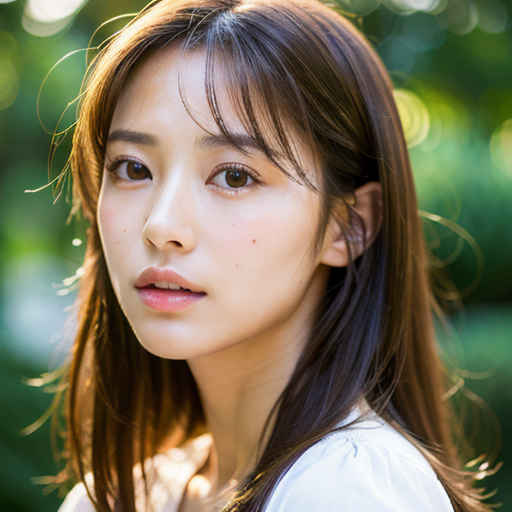
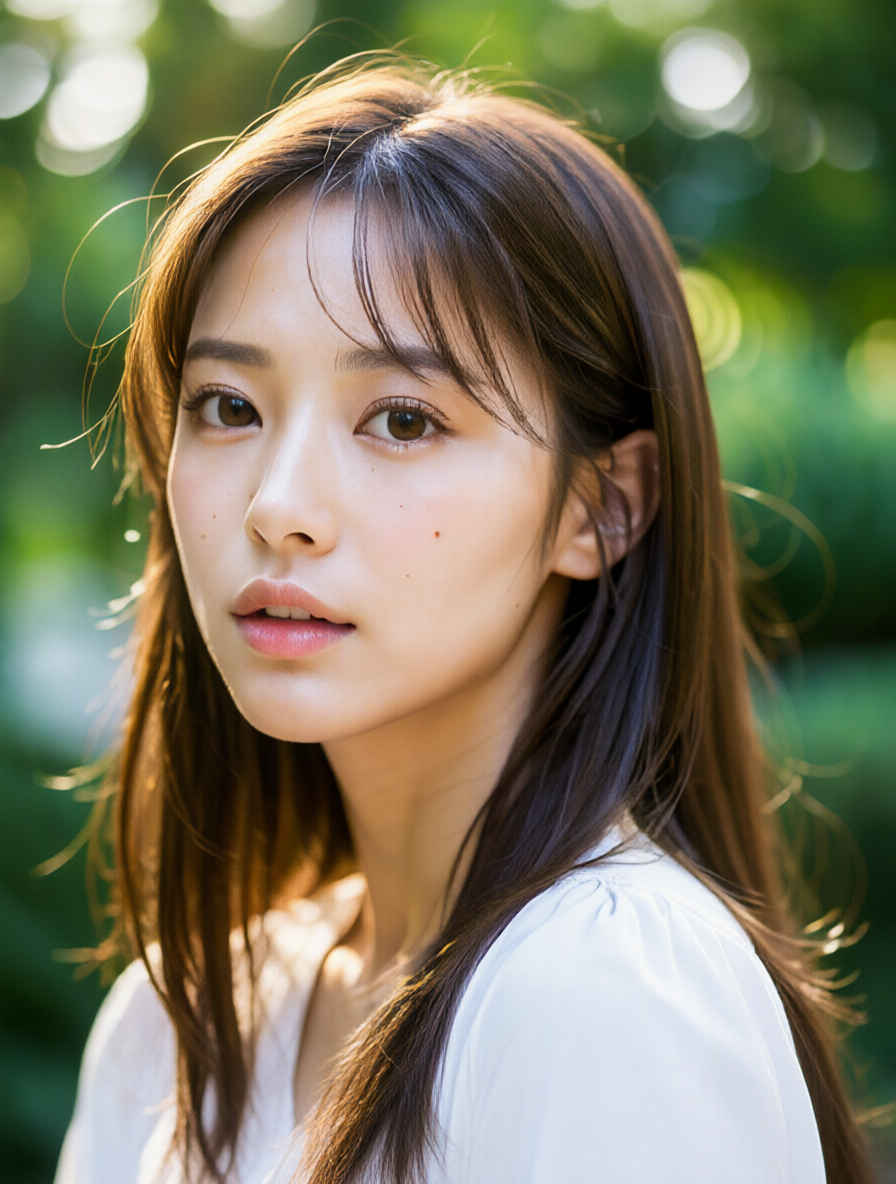
Upscale the image while preserving the original composition, framing, subject appearance, object positions, colors, lighting, and visual style. Reproduce the same image with greater clarity and finer detail.
元の構図、フレーミング、被写体の外観、物体の配置、色、照明、そして視覚的なスタイルを維持したまま、画像をアップスケールしてください。より高い鮮明さと緻密なディテールで、同じ画像を再現してください。
透過画像・切り抜き 基本プロンプト ワークフロー 8457_qwen_image_2.1_turbo_extraction.json
This is an RGBA image with transparency. <ここに生成したいもののプロンプト>. The image has alpha channel and the background is transparent.
これは透明度情報を含むRGBA画像です。<ここに生成したいもののプロンプト>。 この画像にはアルファチャンネルが含まれており、列車以外の部分はすべて透明になっています。
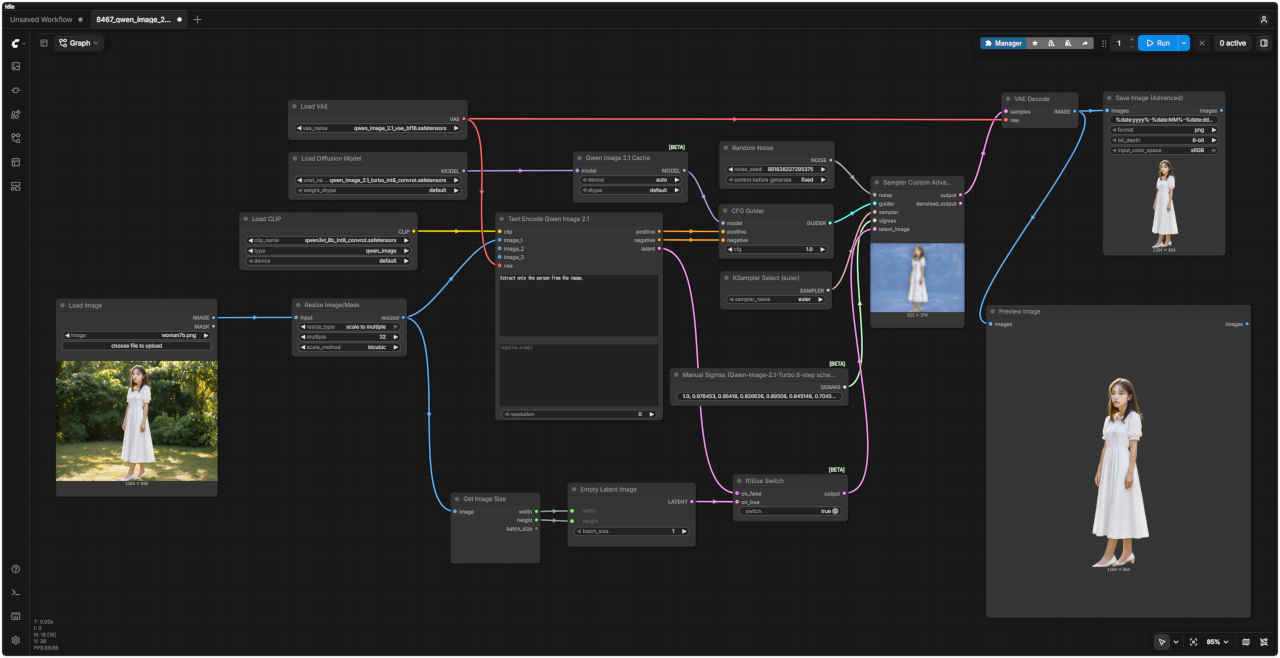
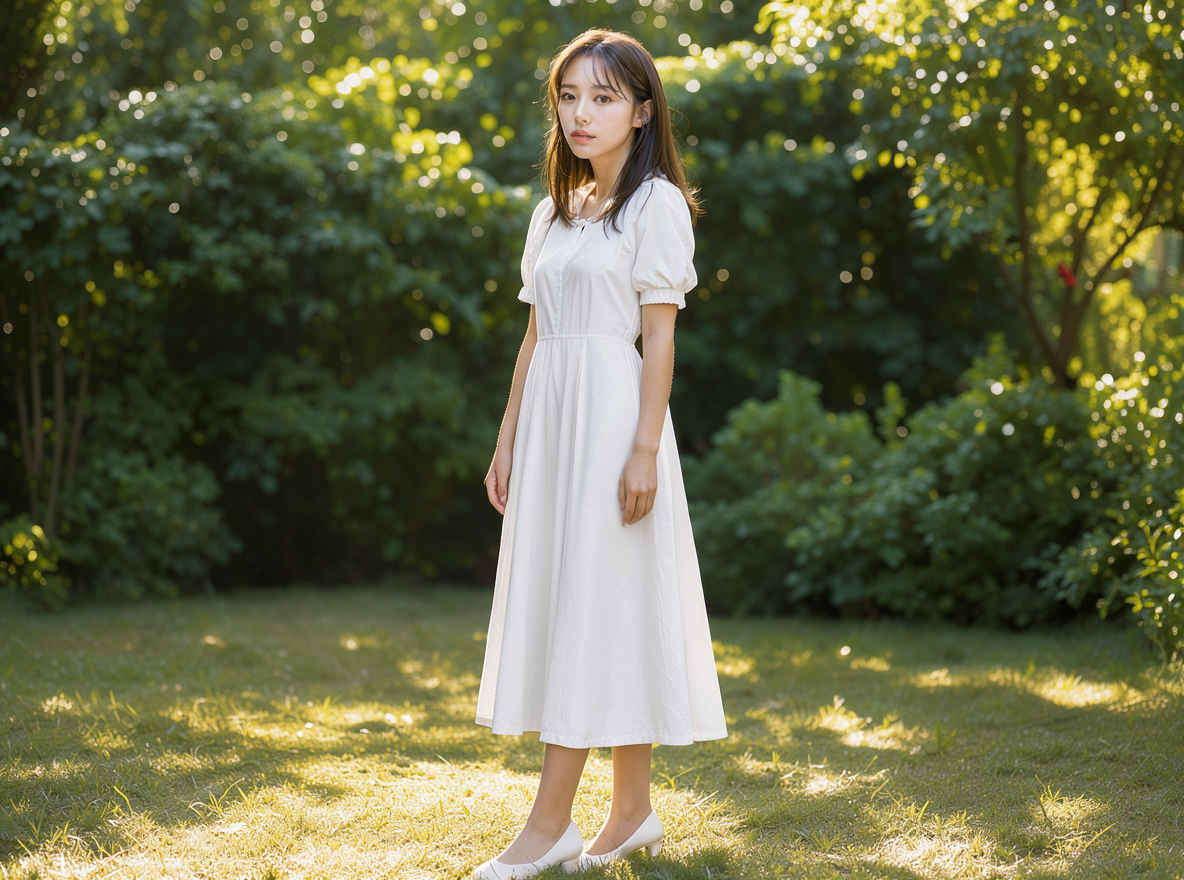
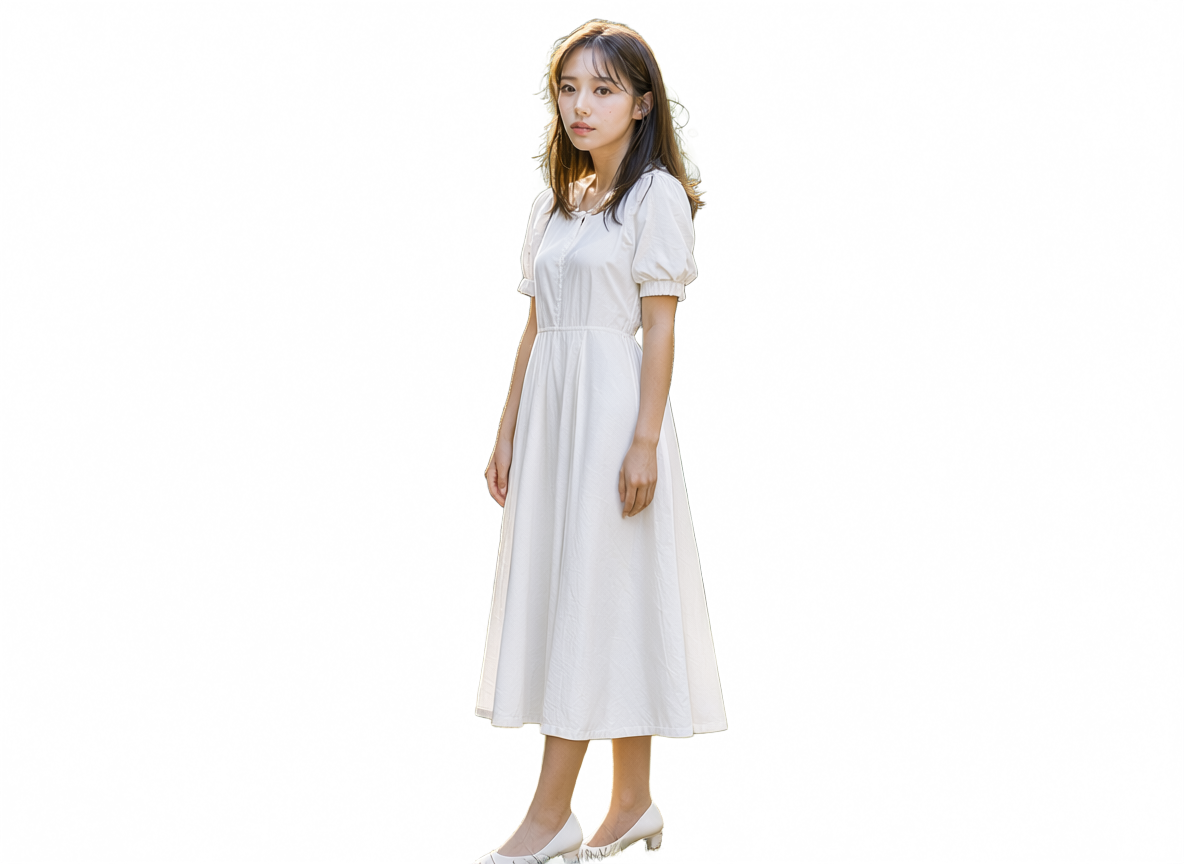
参照画像 プロンプト (基本プロンプト赤字部分) 生成画像(透過画像 .png) ⑨
Extract only the person from the image.
画像から人物だけを抽出してください。
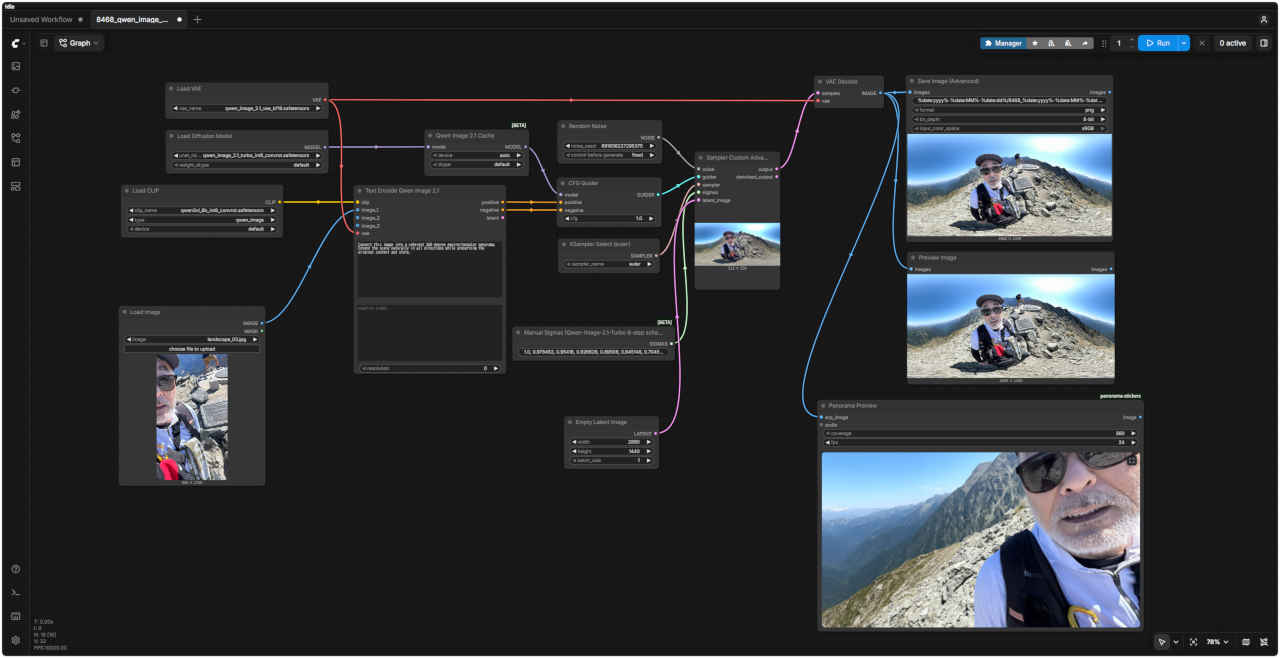
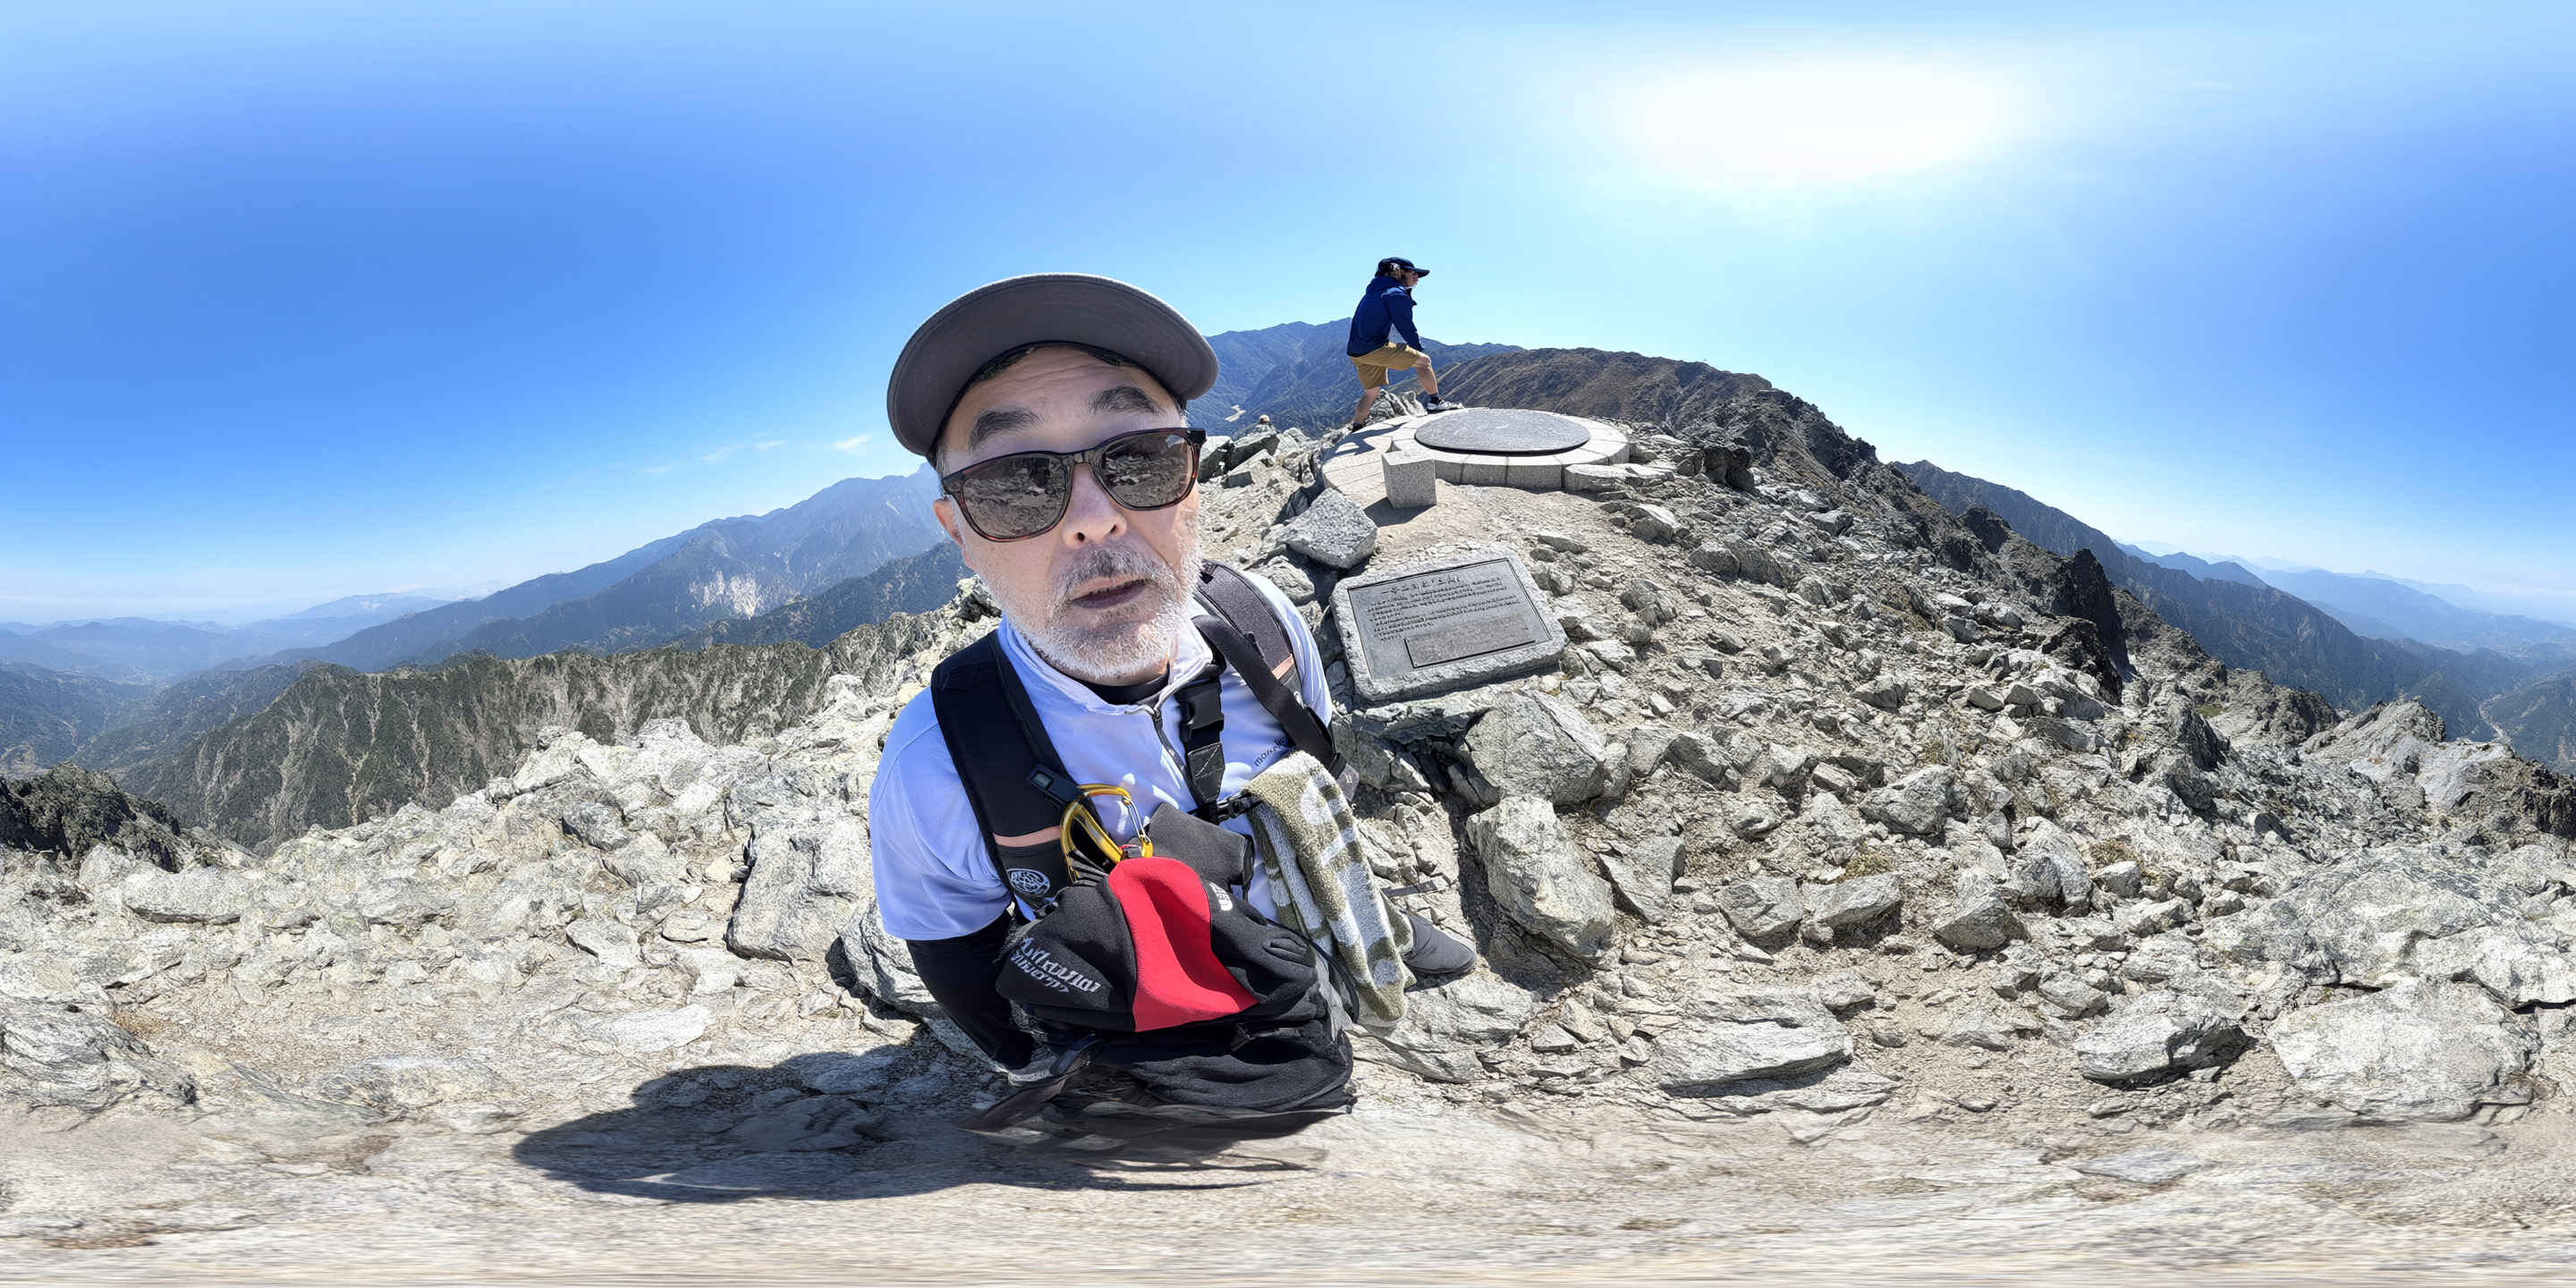
パノラマ画像生成
Panorama Stickers
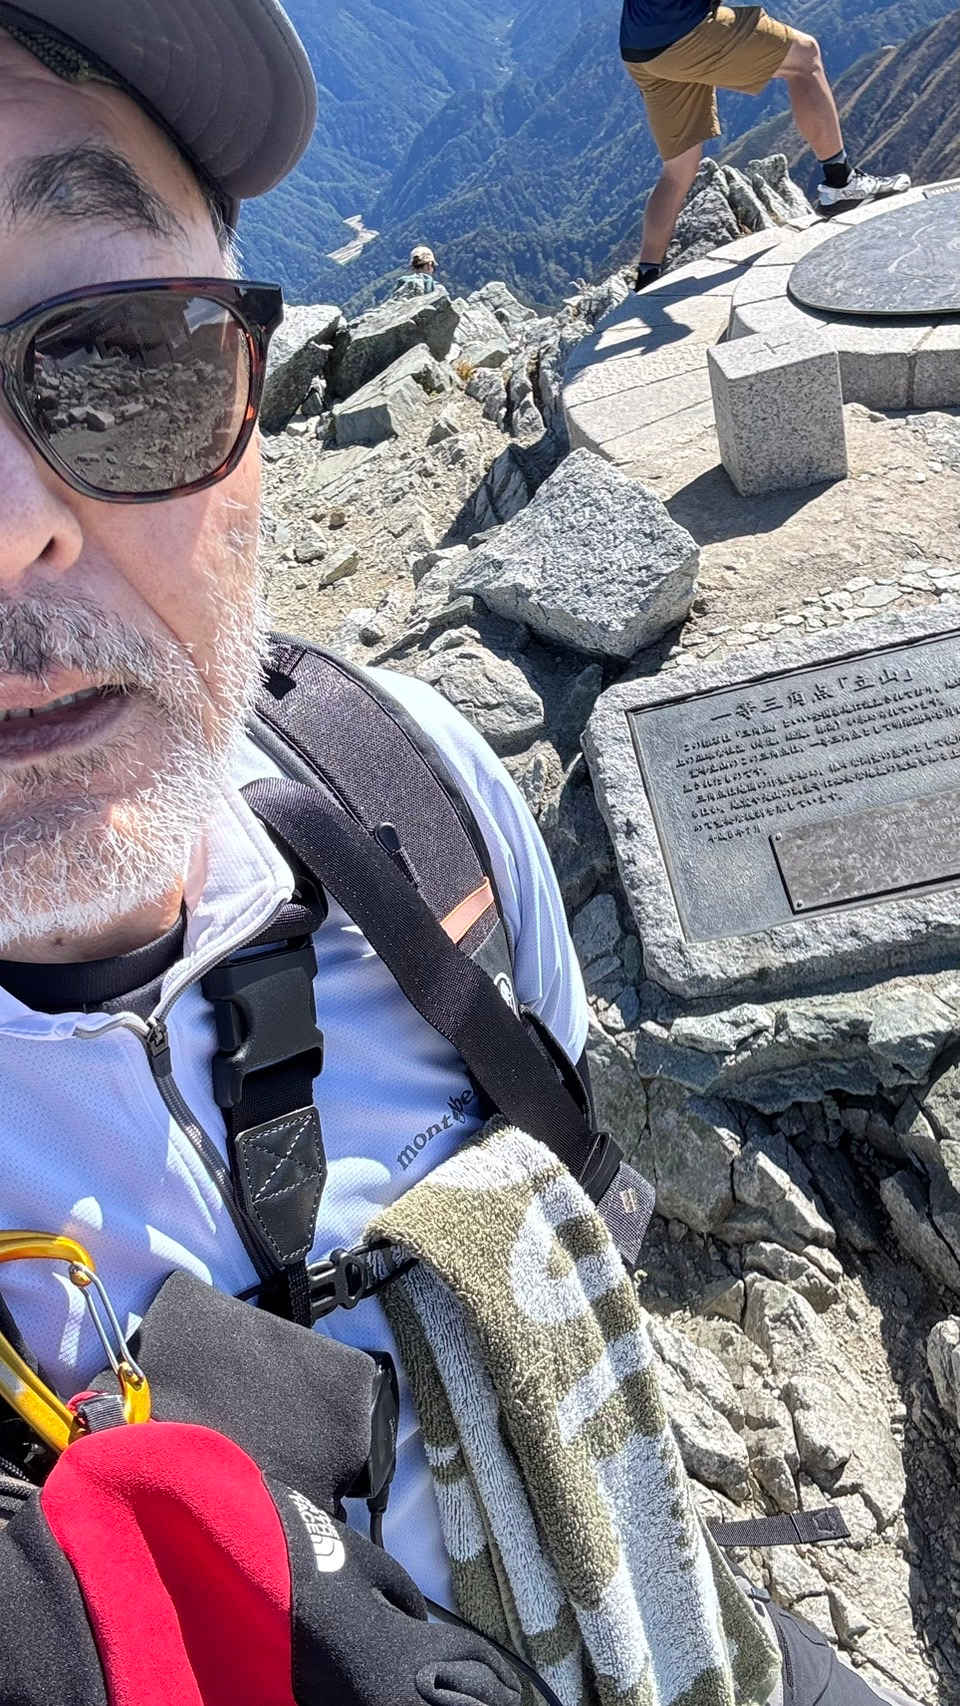
で検索、nomadoor/ComfyUI-Panorama-Stickers 参照画像 プロンプト 生成画像 ⑩
Convert this image into a coherent 360-degree equirectangular panorama. Extend the scene naturally in all directions while preserving the original content and style.
この画像を、整合性のある360度正距円筒図法のパノラマに変換してください。元の内容とスタイルを維持しつつ、全方向に自然な形で風景を拡張してください。
Tips: ● ERP(Equirectangular Panorama:正距円筒図法) <360度×180度の全天球パノラマ画像を2次元の長方形(縦横比2:1)に展開した画像> を生成する360度パノラマビューア
更新履歴†
参考資料†